Web-Push ads for websites: Creating AD Codes
Step 1. Sign up to join OnClickA Publishers: Sign up →
Step 2. Go to the AD Codes tab: AD Codes →
Step 3. Add new AD Code
Step 4. Copy the snippet
Step 5. Paste the snippet from a clipboard to the head of your website, download a JavaScript file, and upload it to a designated folder.
Now, let’s get more details about each of the steps.
Step 1
Sign up to OnClickA Publishers. You can do it here:
Step 2
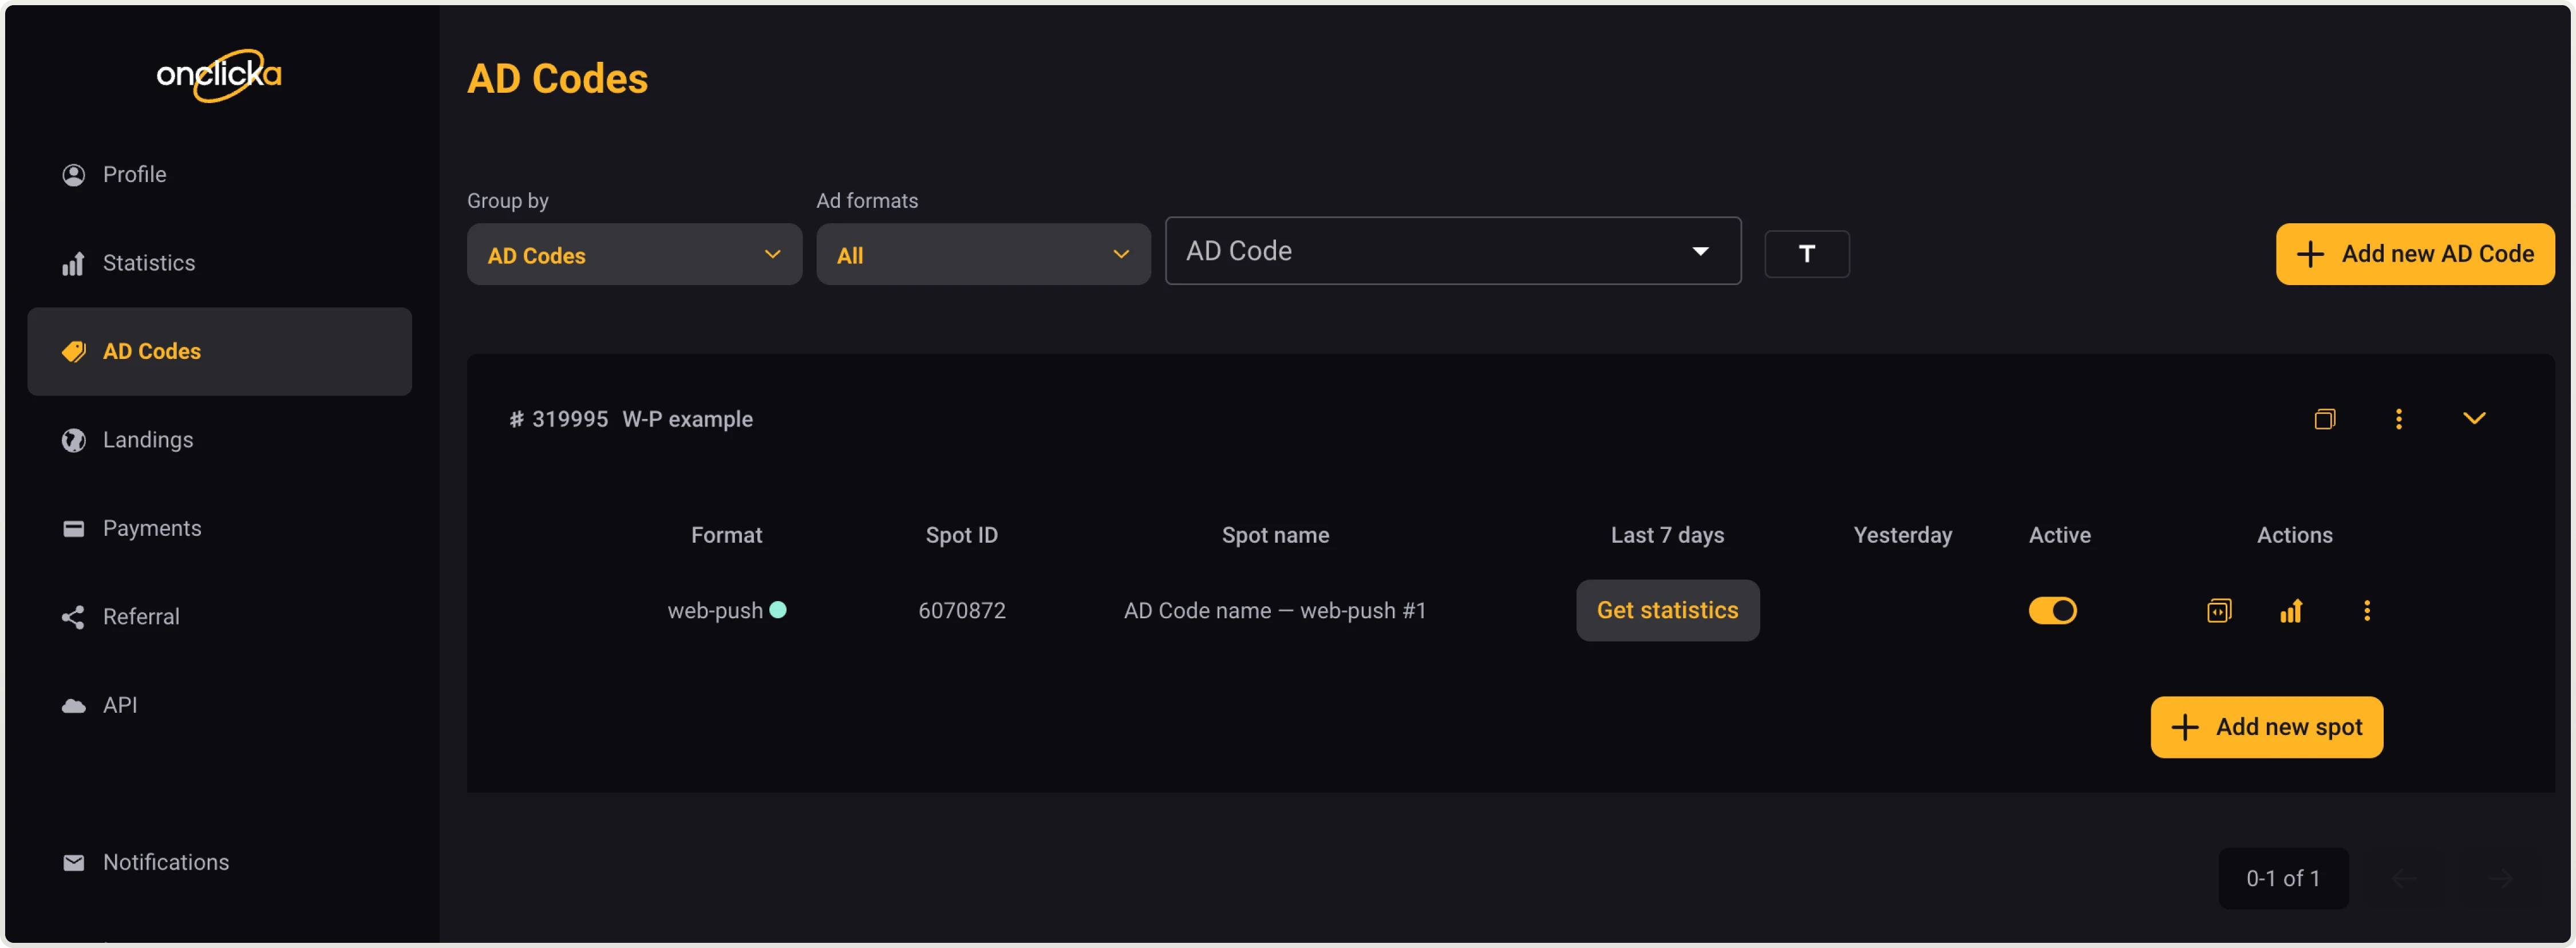
Go to the AD Codes tab:
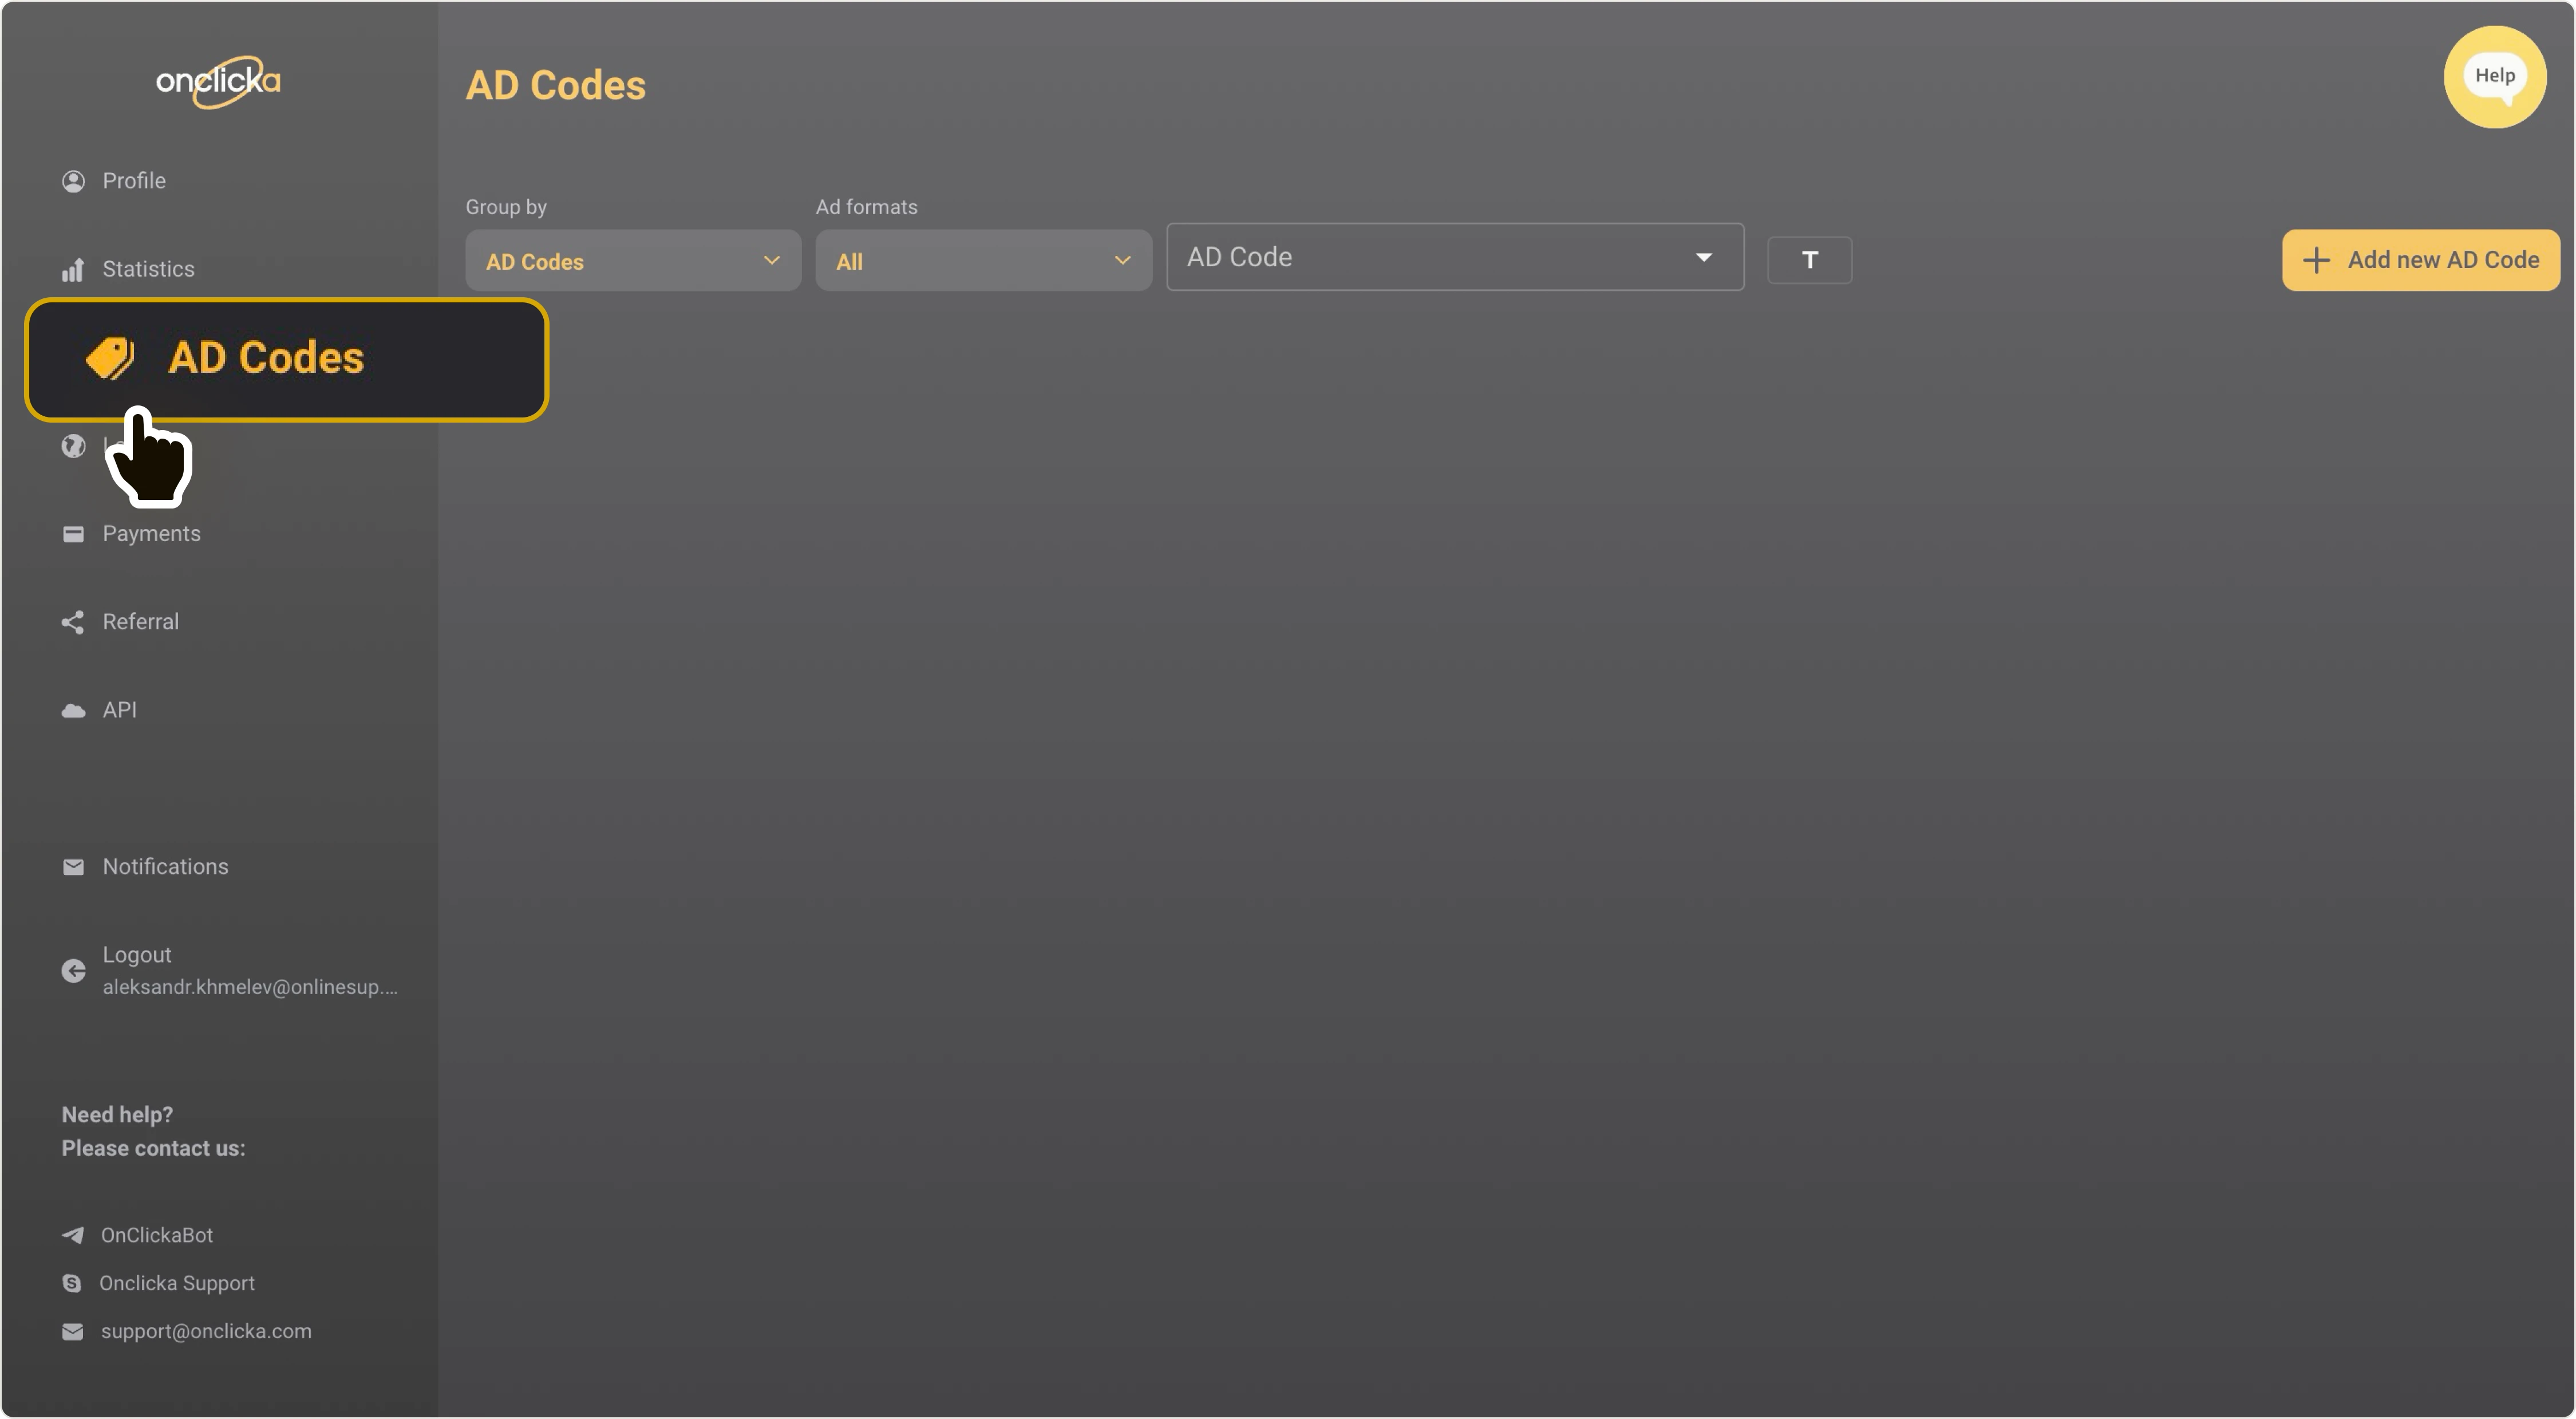
Step 3
Click on Add new AD Code:

Create new AD Code:
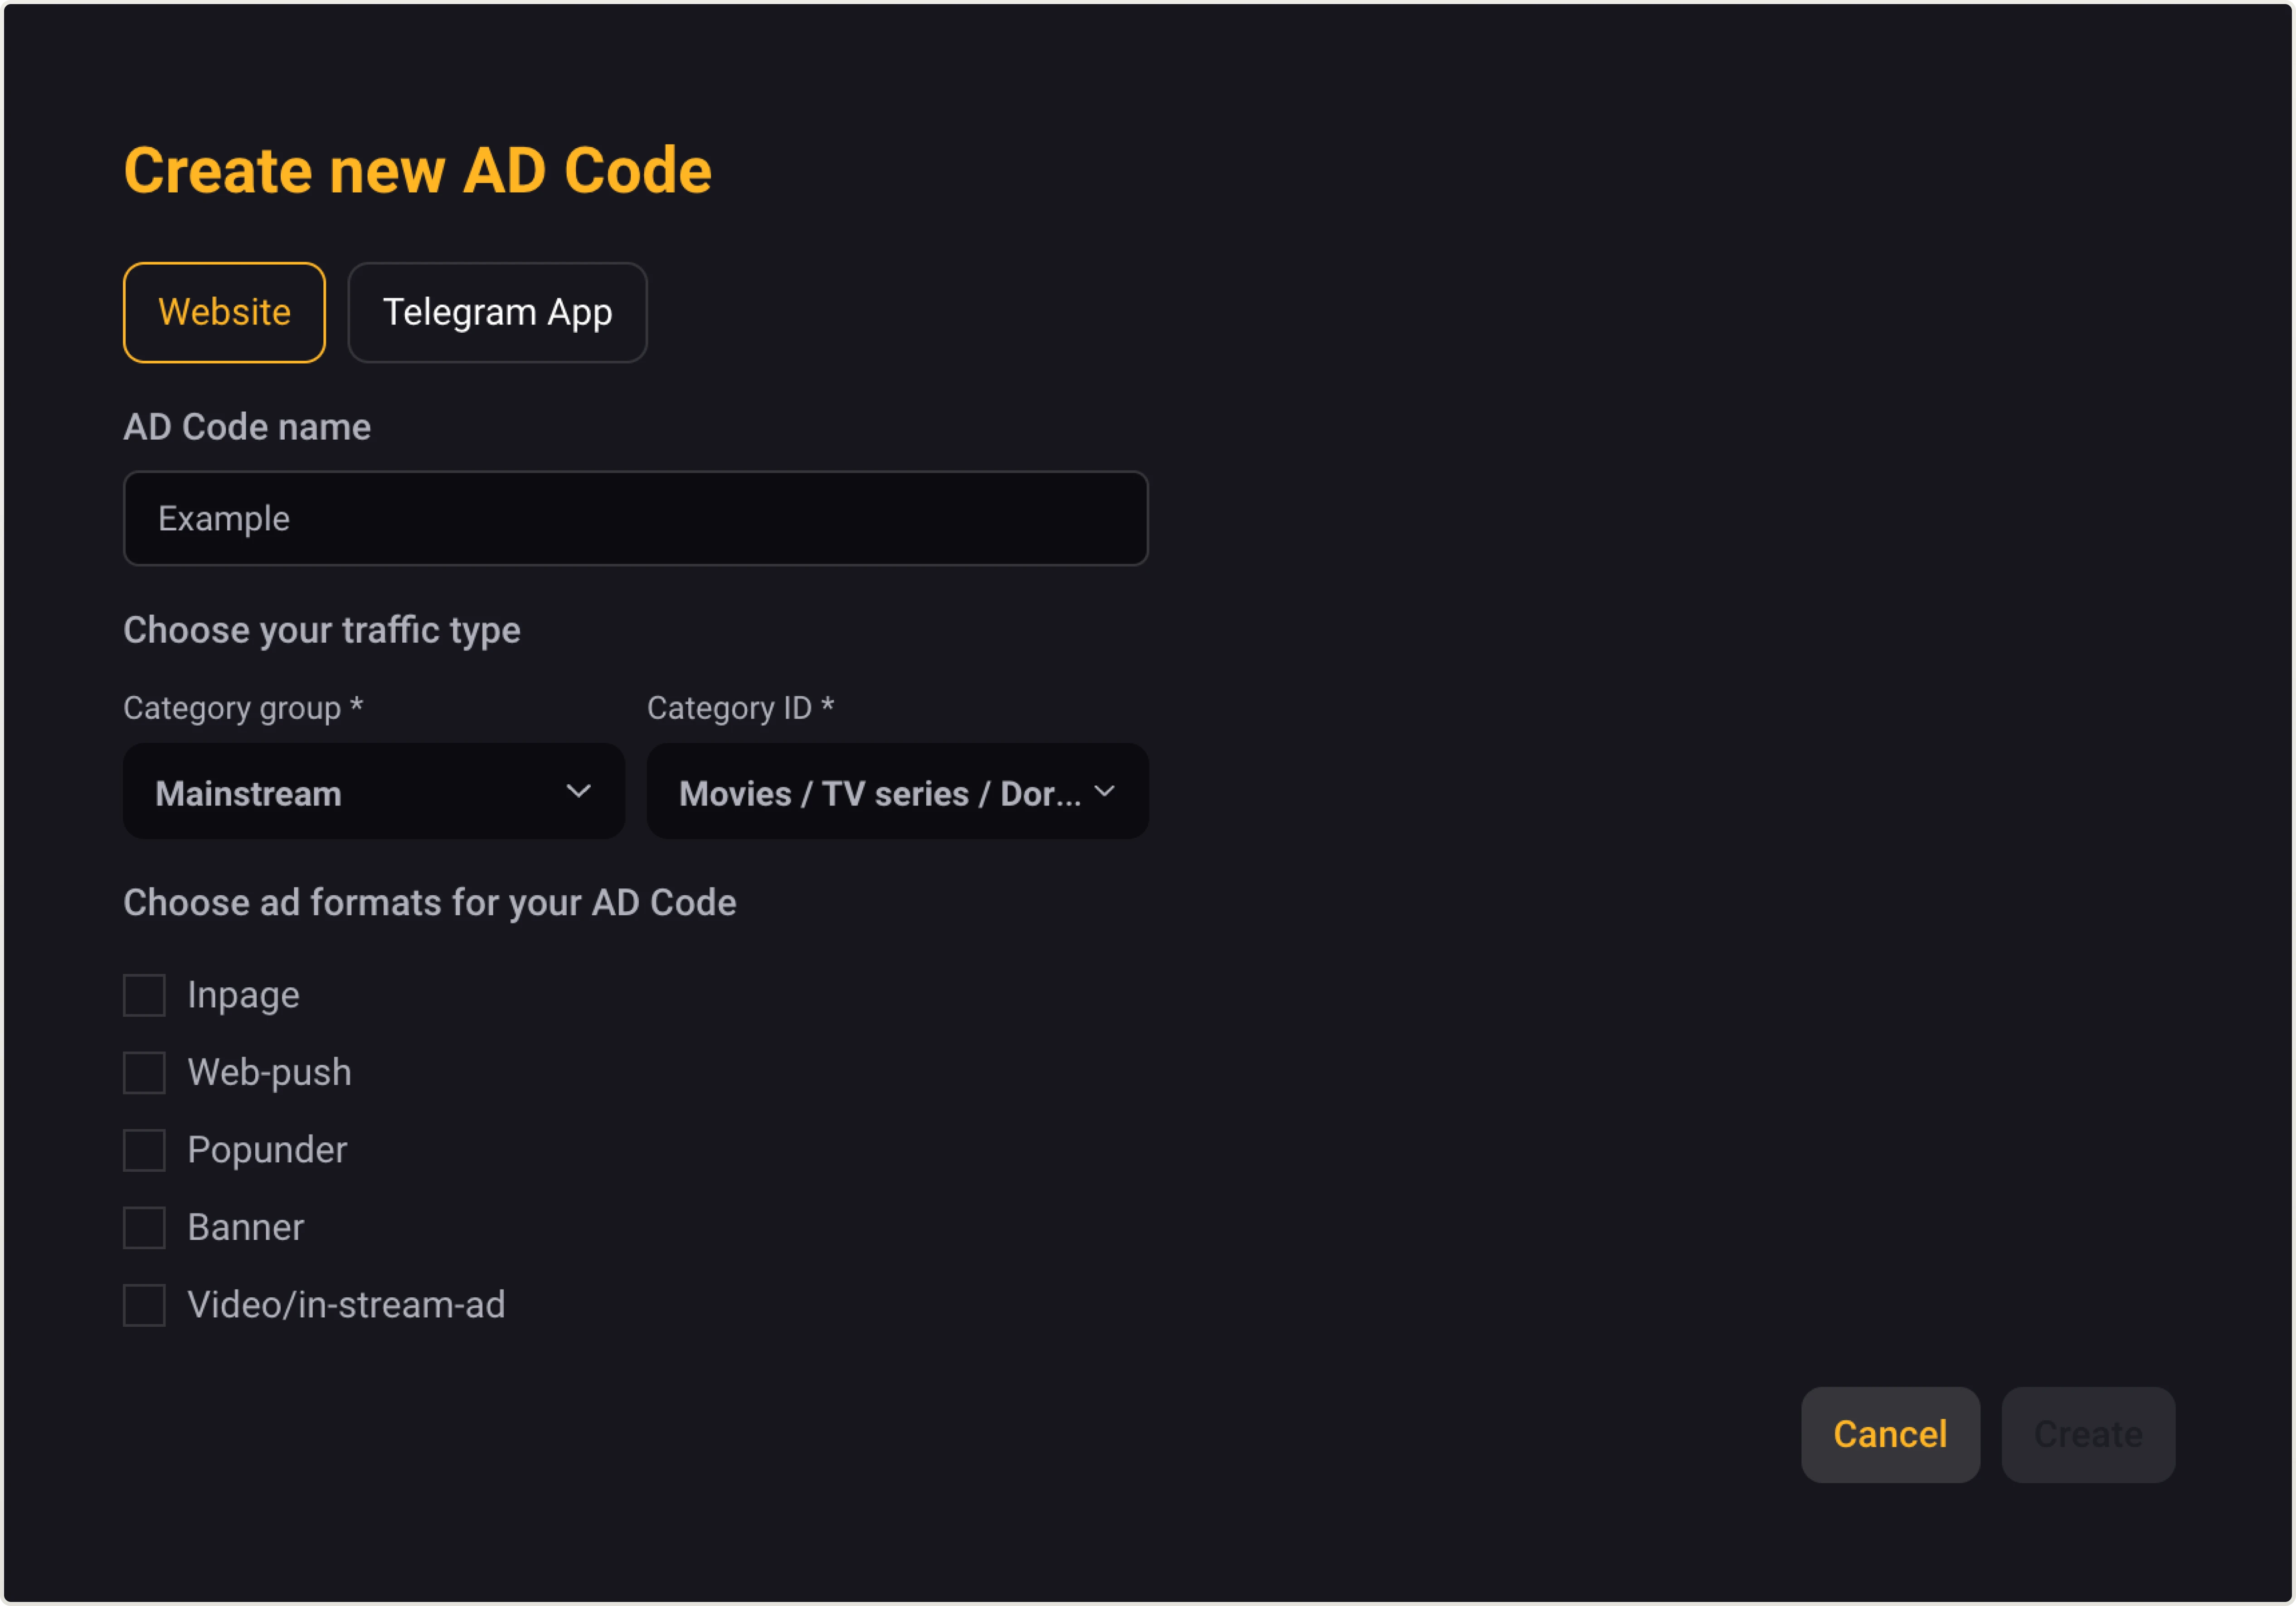
ℹ️ AD Code name
Provide a name for your ad code. This name will only be viewed within our service to help you differentiate one code from another.
ℹ️ Choose your traffic type
It’s essential to select Category group and Category ID. Choose the category that best suits your needs.
ℹ️ Choose ad formats for your AD Code
Choose the Web-push option since this guide is about Web-Push notifications.
Let’s explore more potential customizations.
Please note
Some ℹ️ customizations are marked as Optional. They provide more control but aren’t needed in most cases—ads will display fine without them.
Enable them only if you’re sure you need them.
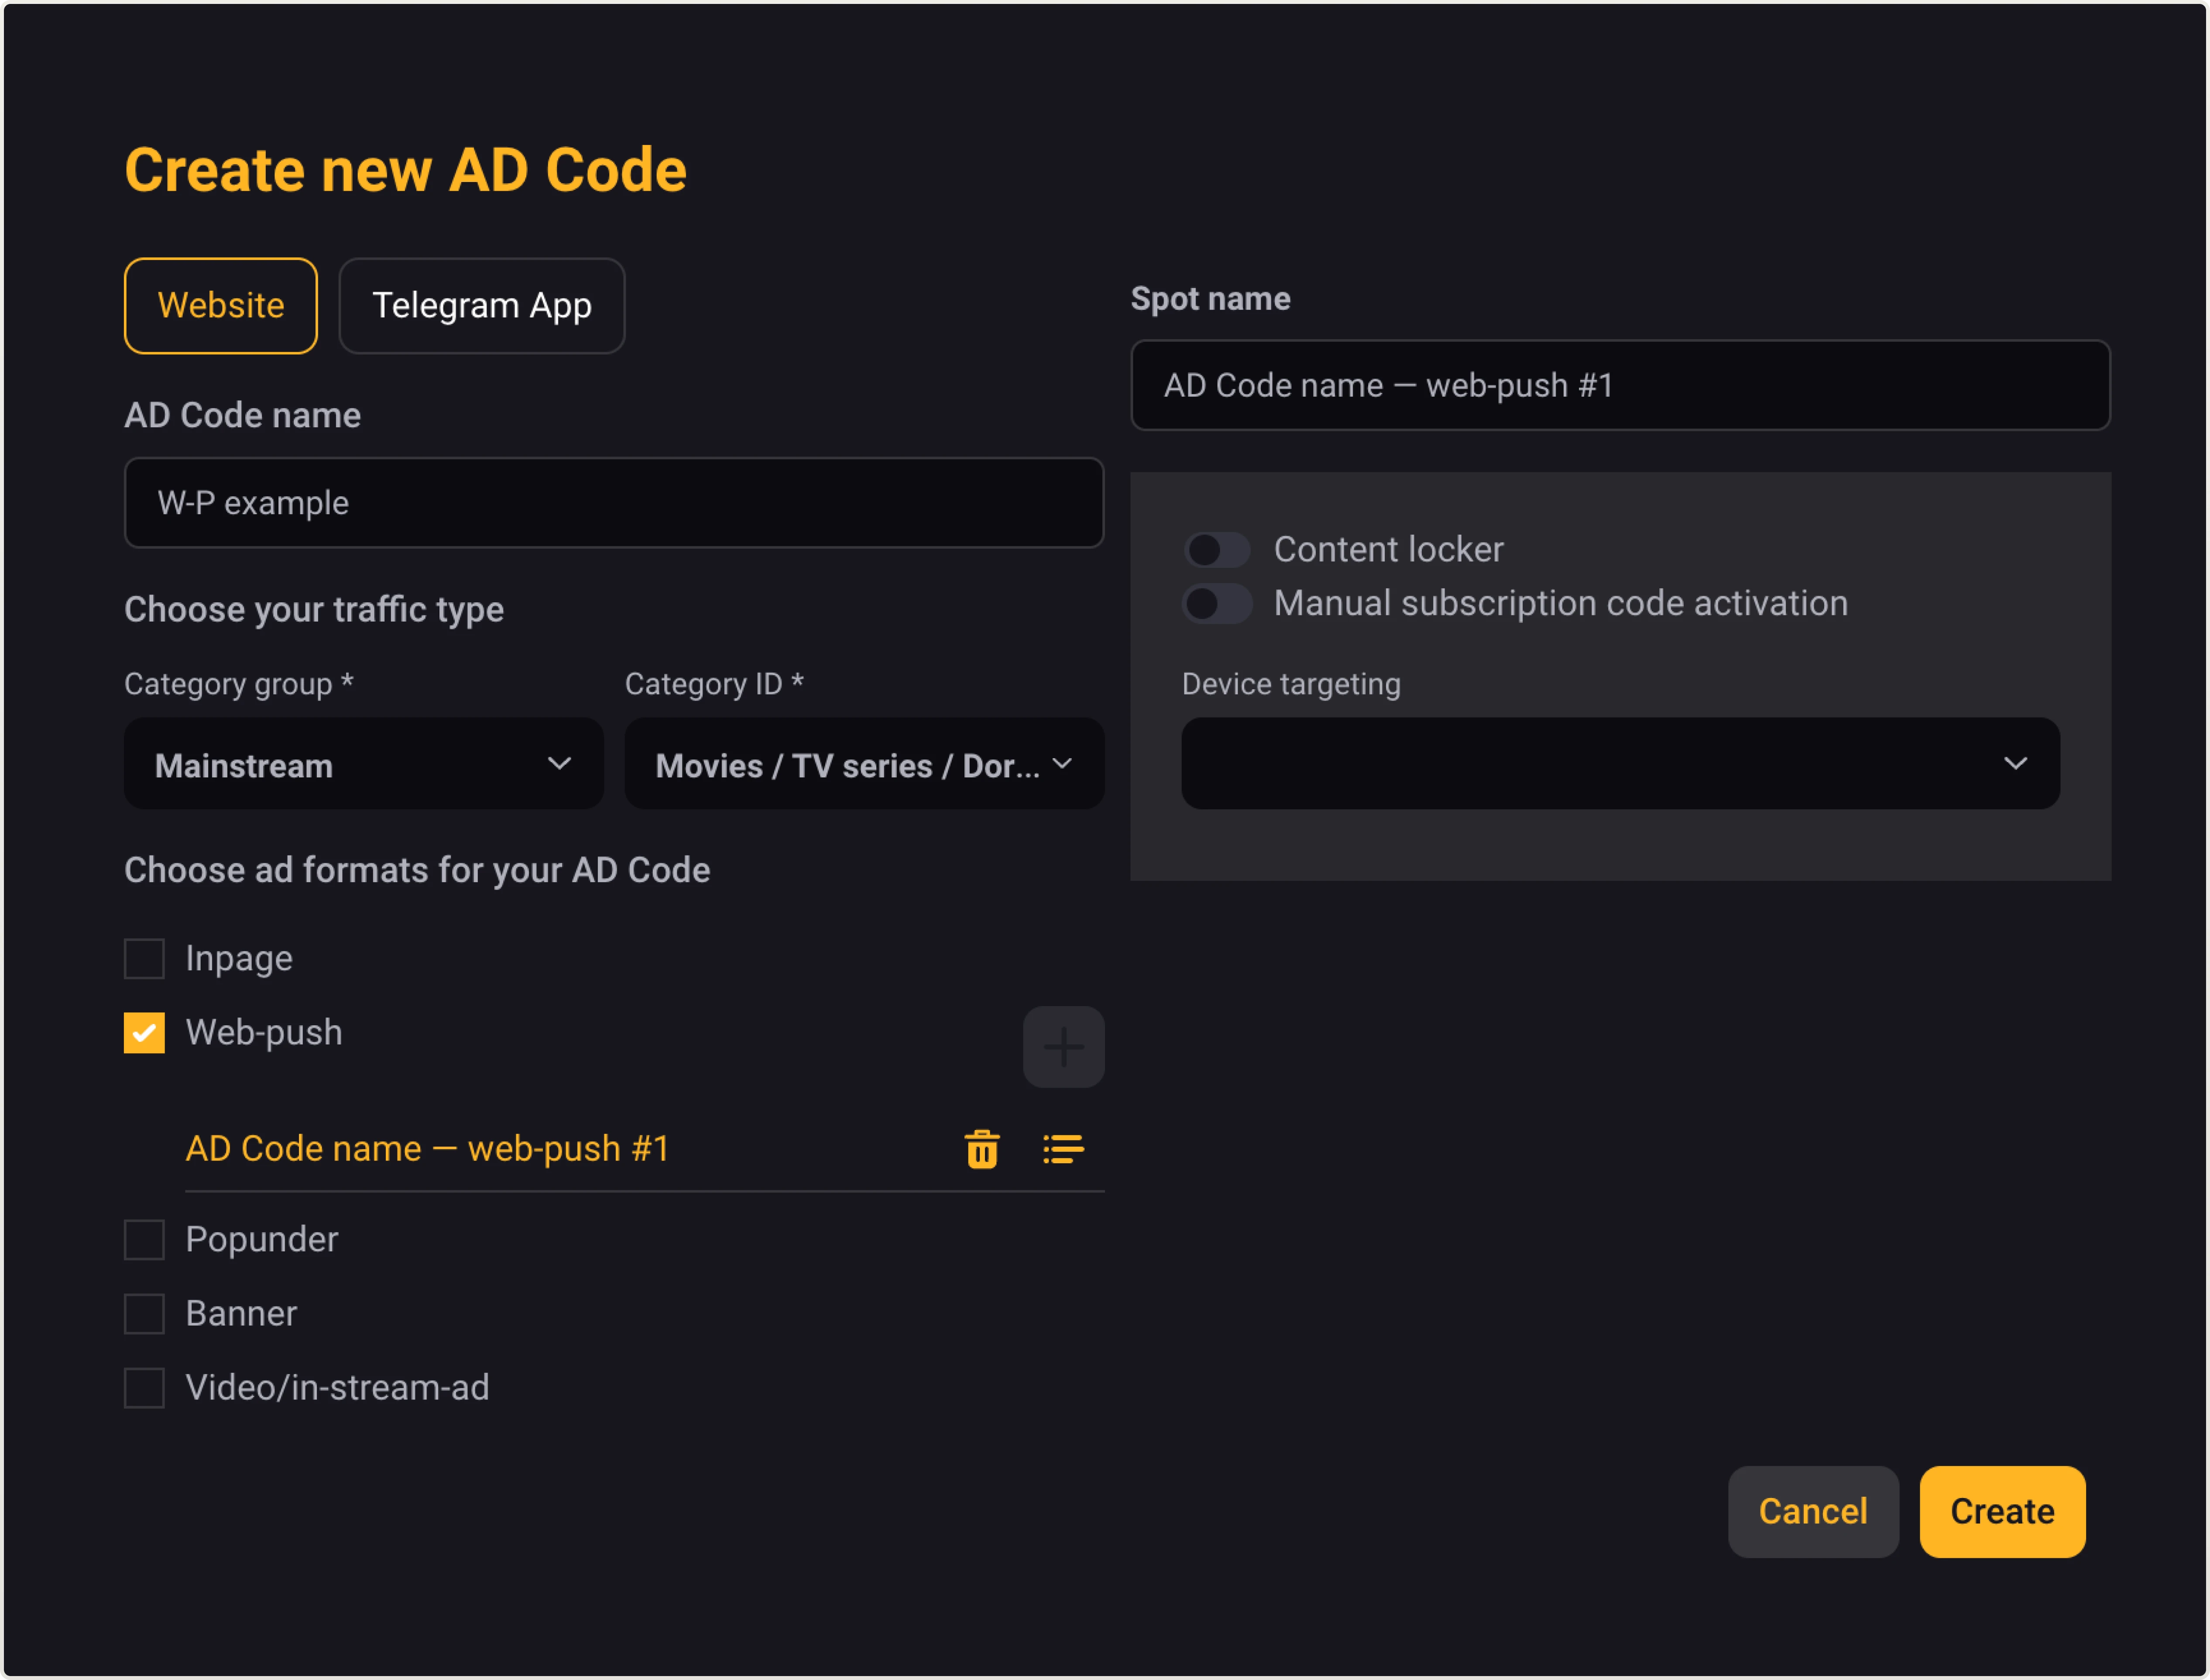
ℹ️ Spot name
Spot name is filled in automatically.
ℹ️ Content locker · Optional
The content locker feature necessitates users to subscribe to notifications to access certain content.
ℹ️ Manual subscription code activation · Optional
It can be used to customize how the subscription offer is shown instead of using the default display. Requires technical knowledge and is recommended only for advanced setups.
ℹ️ Device targeting · Optional
You can leave it as all devices, or you can choose between desktop and mobile.
Moving on
After it’s done, click on Create:
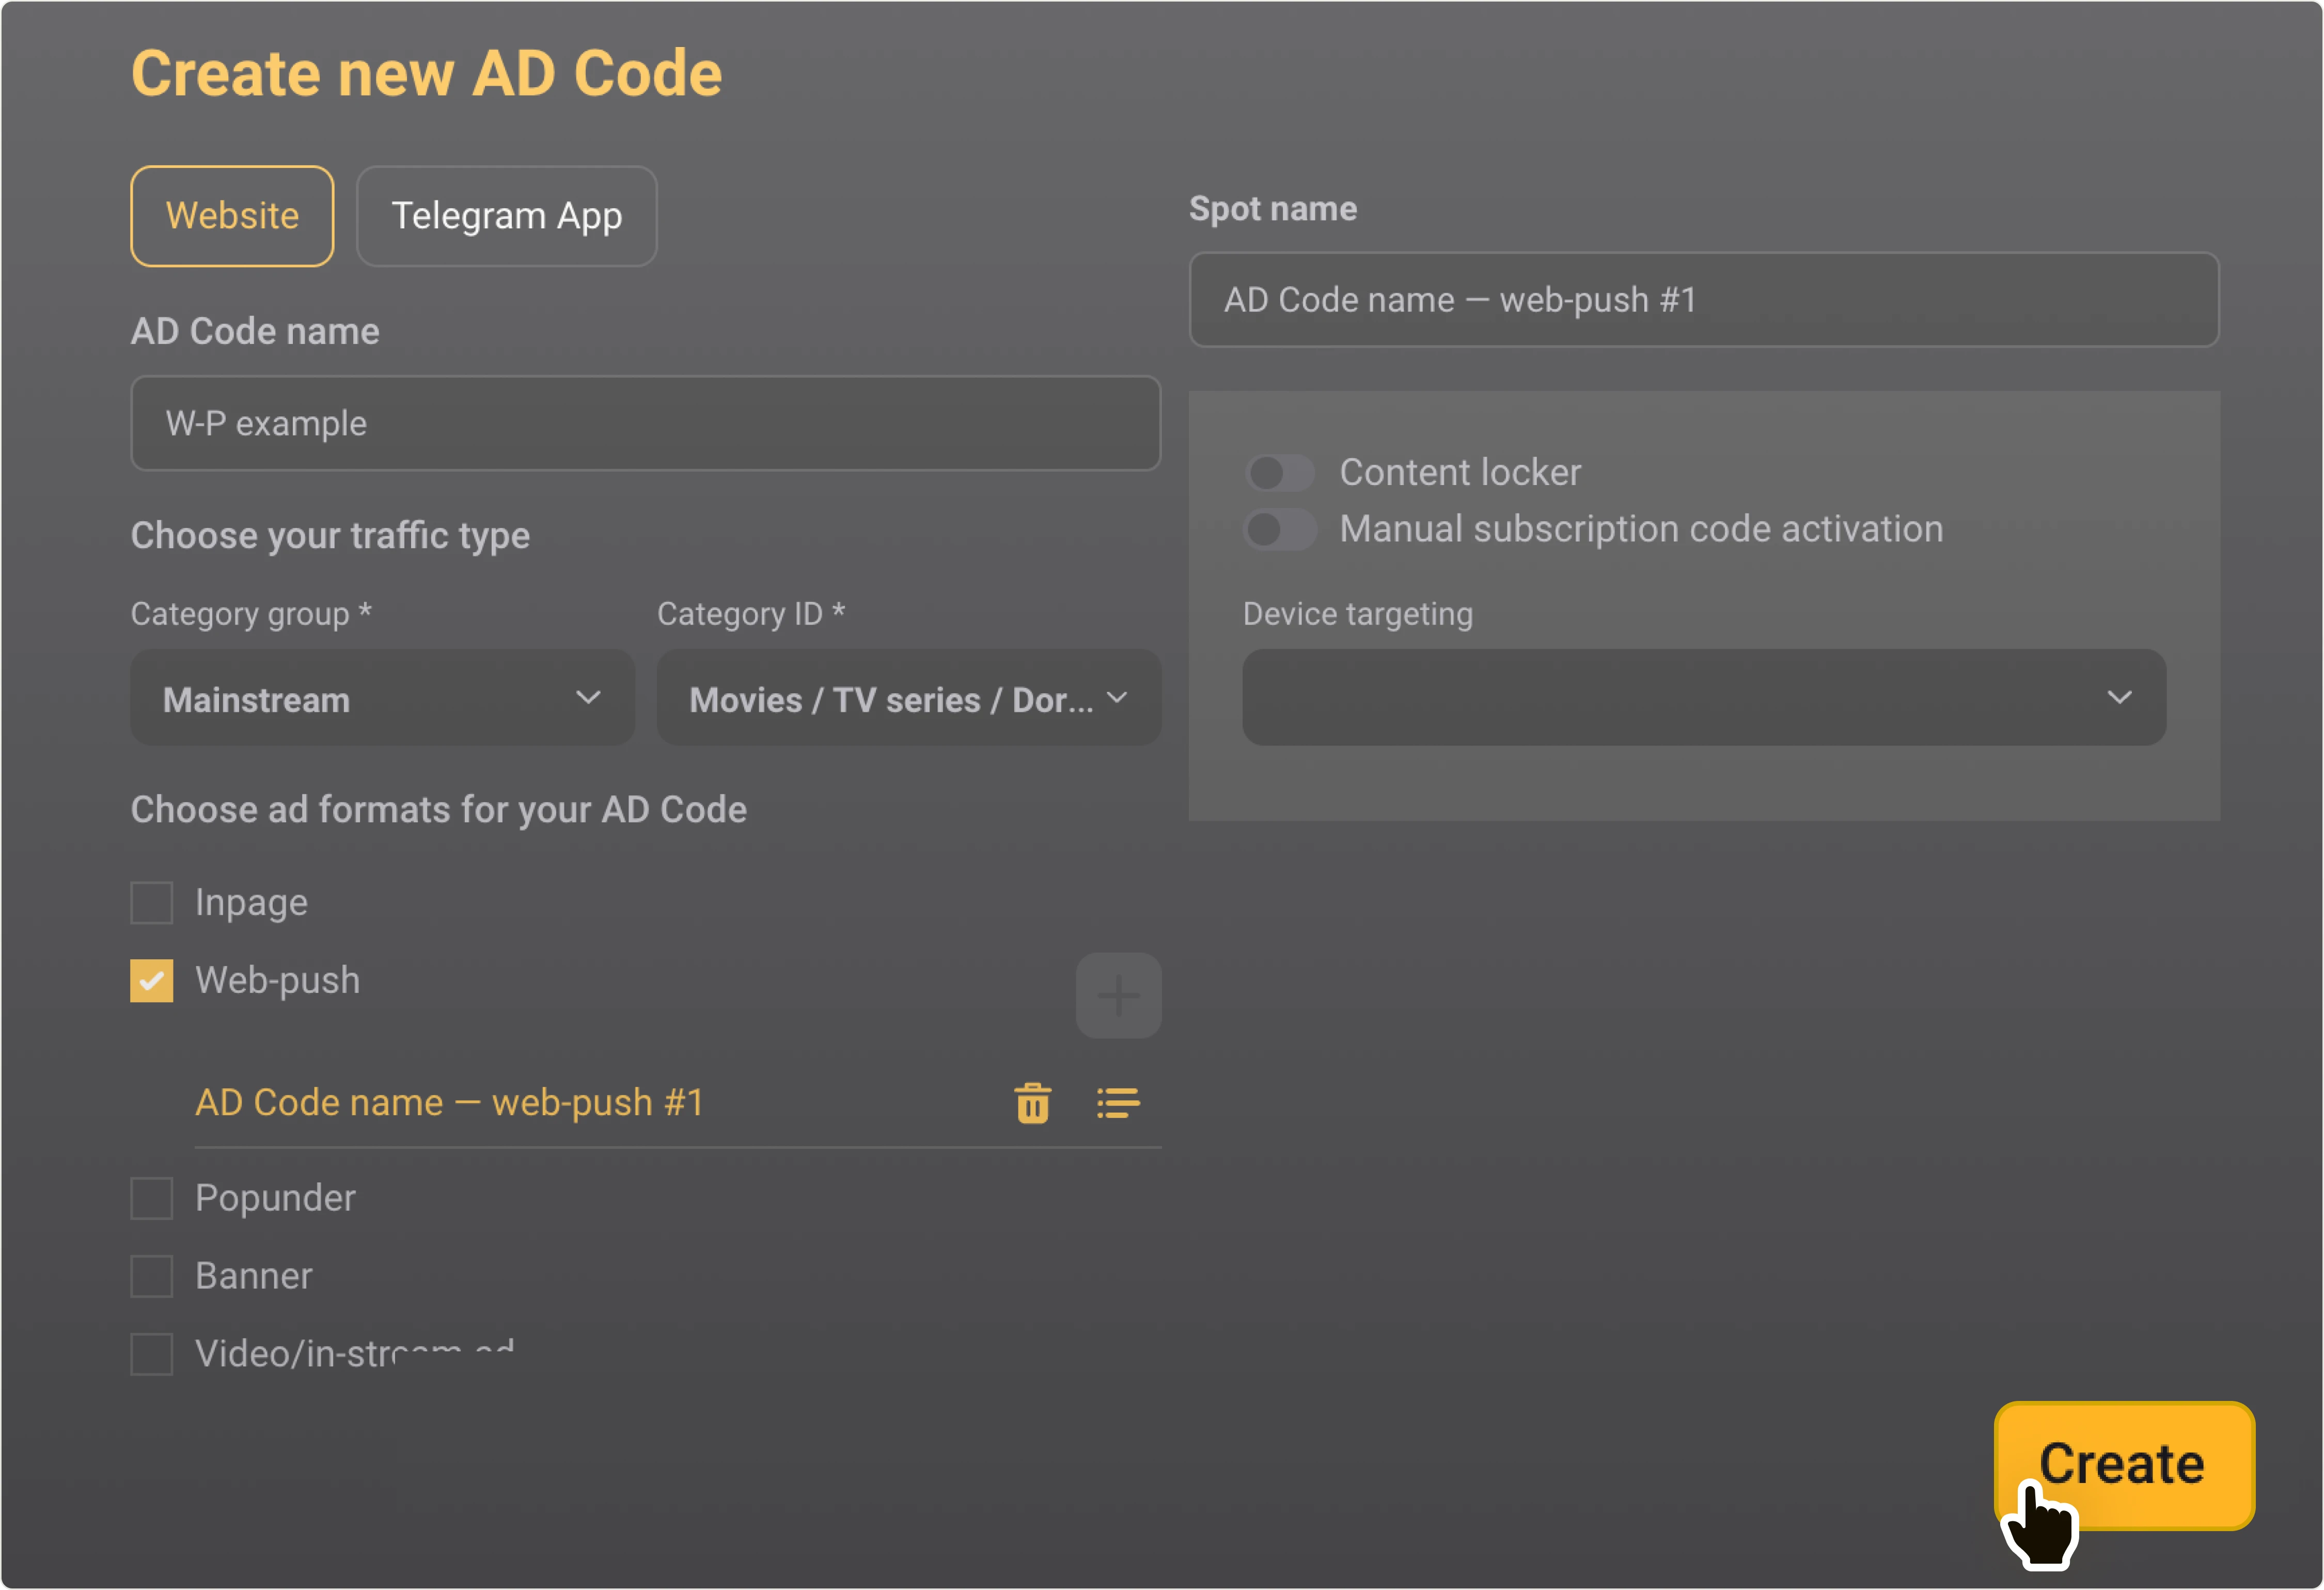
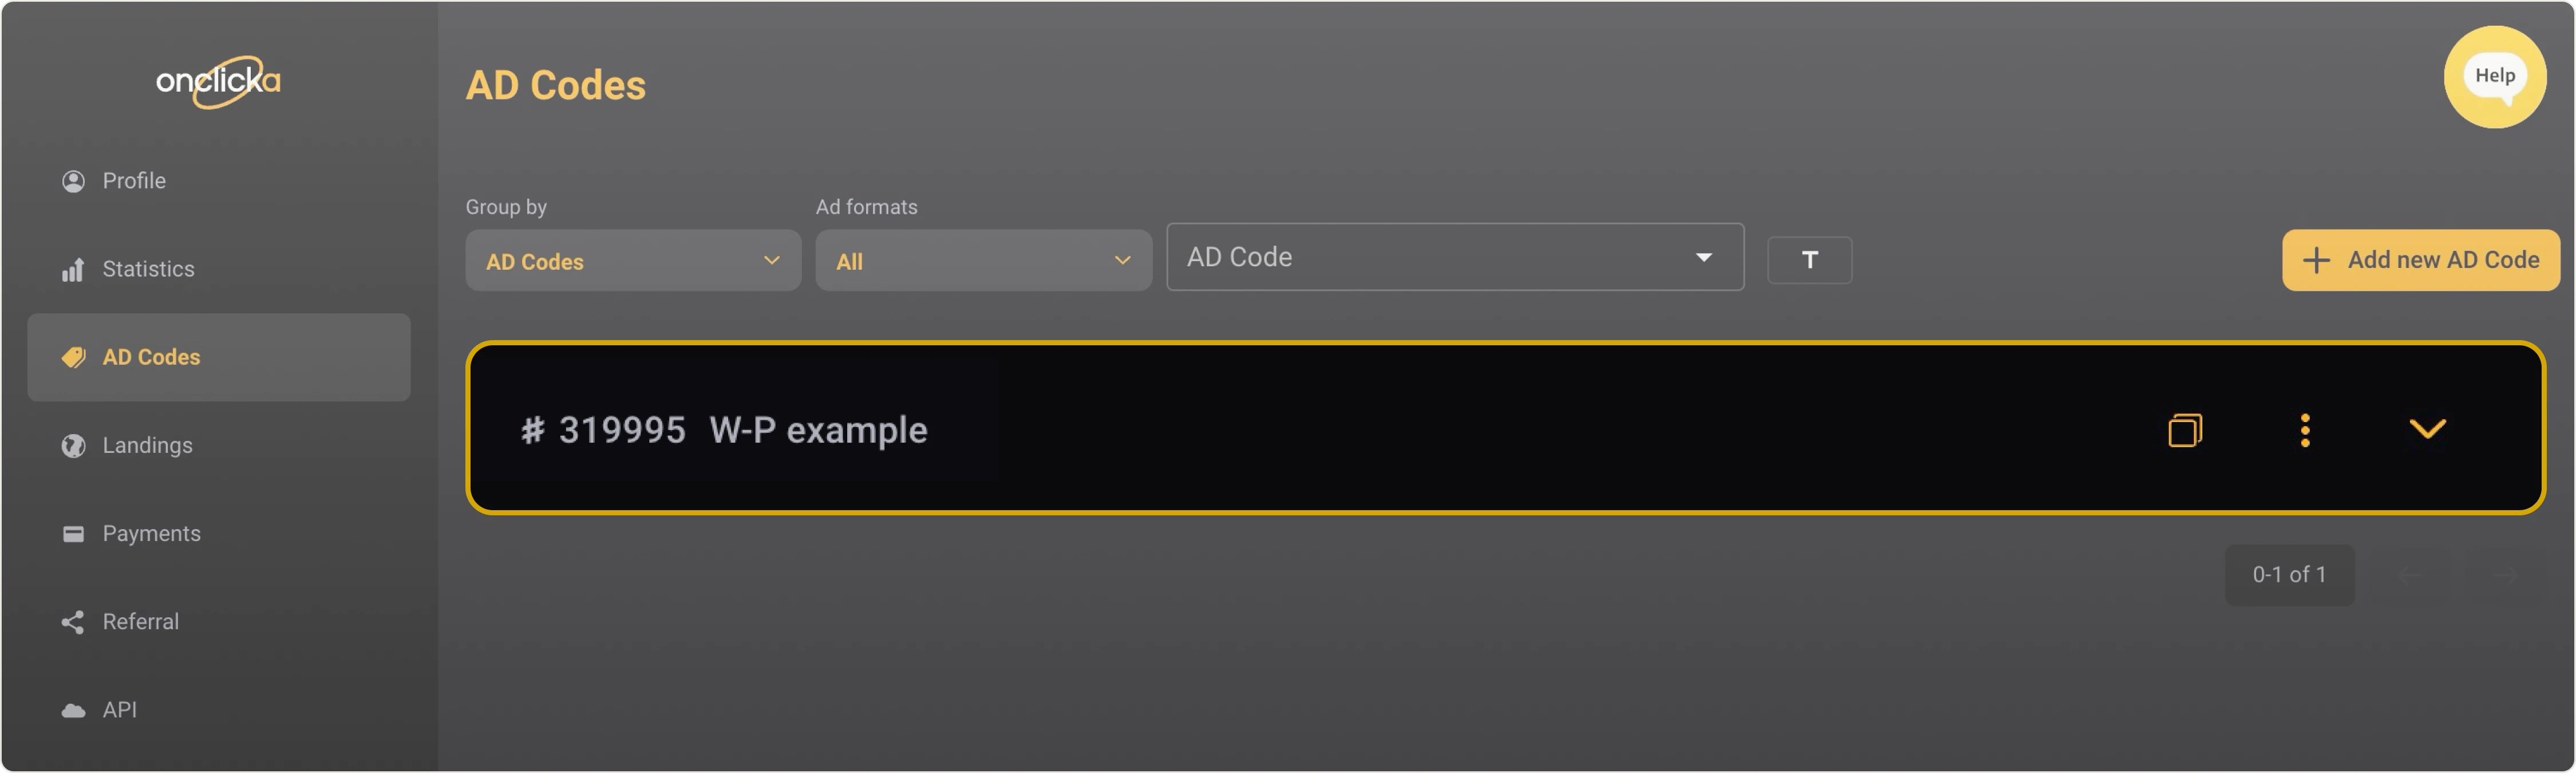
Your AD Code is created:
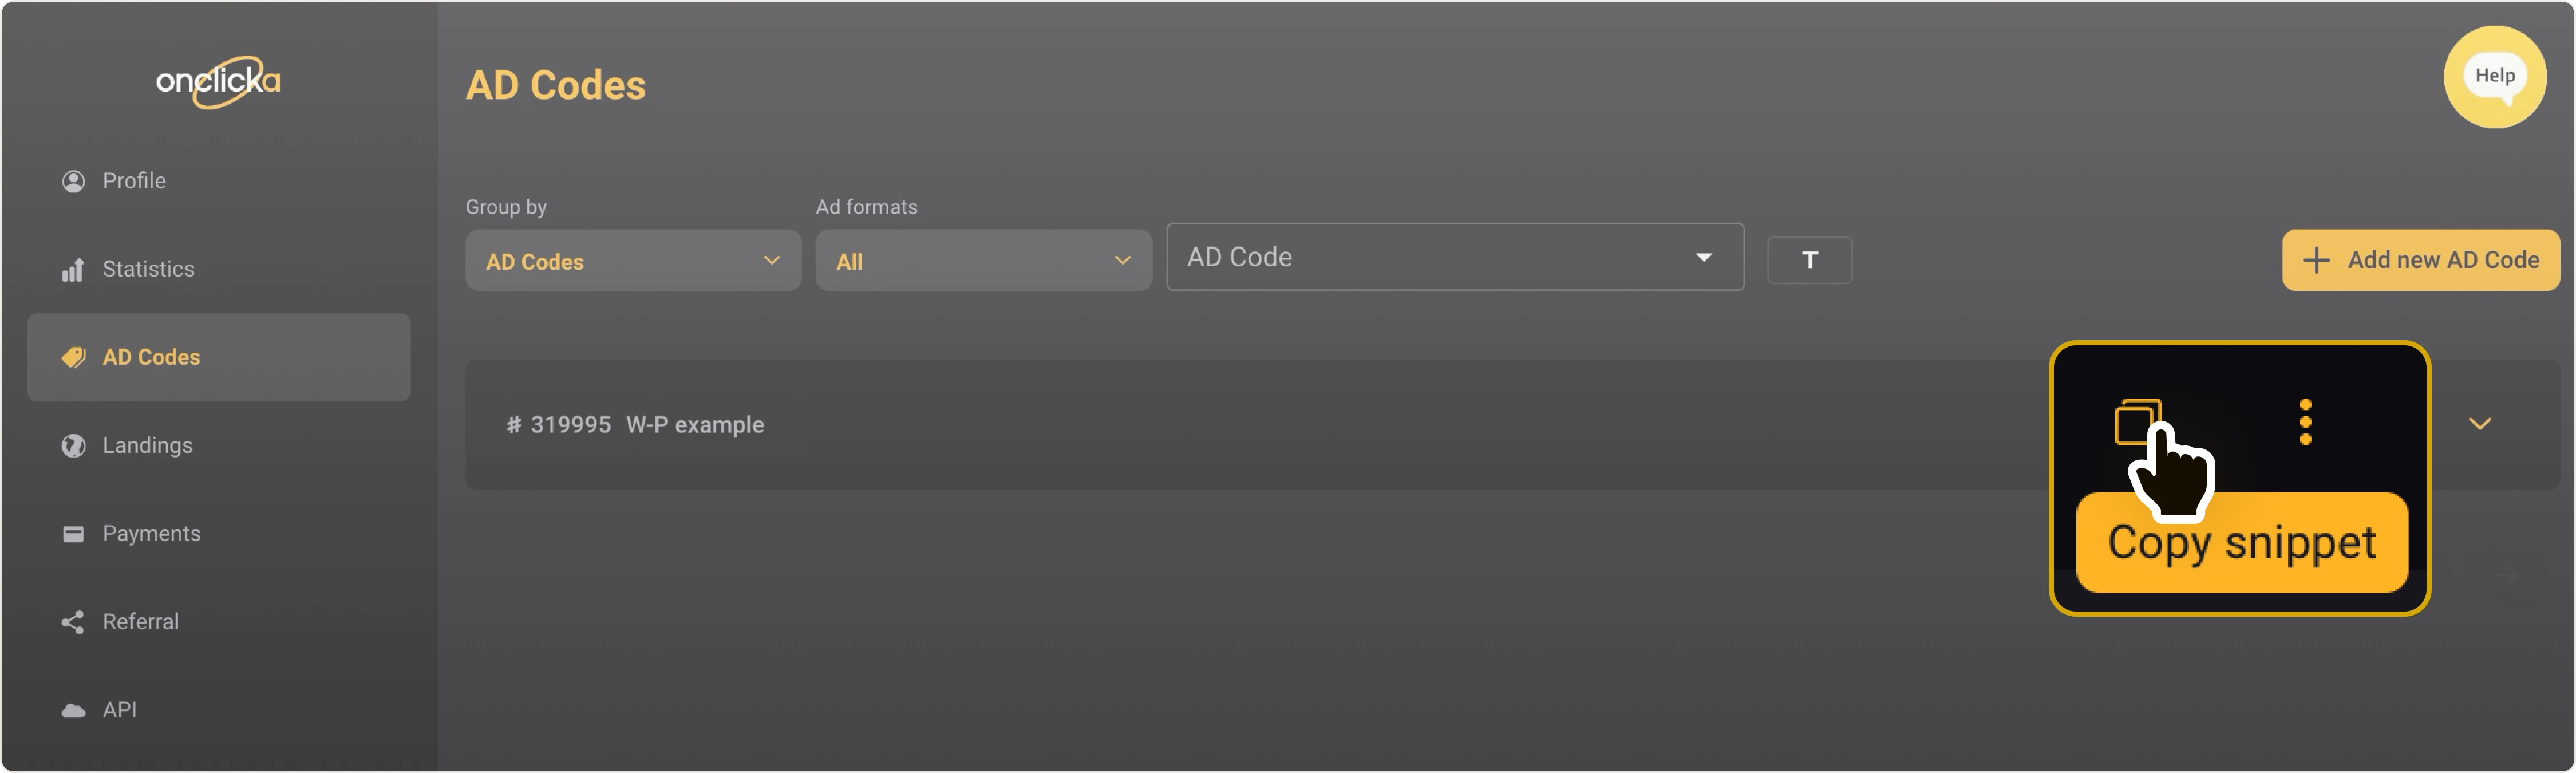
Step 4
Click on Copy snippet:
Click on Copy script:
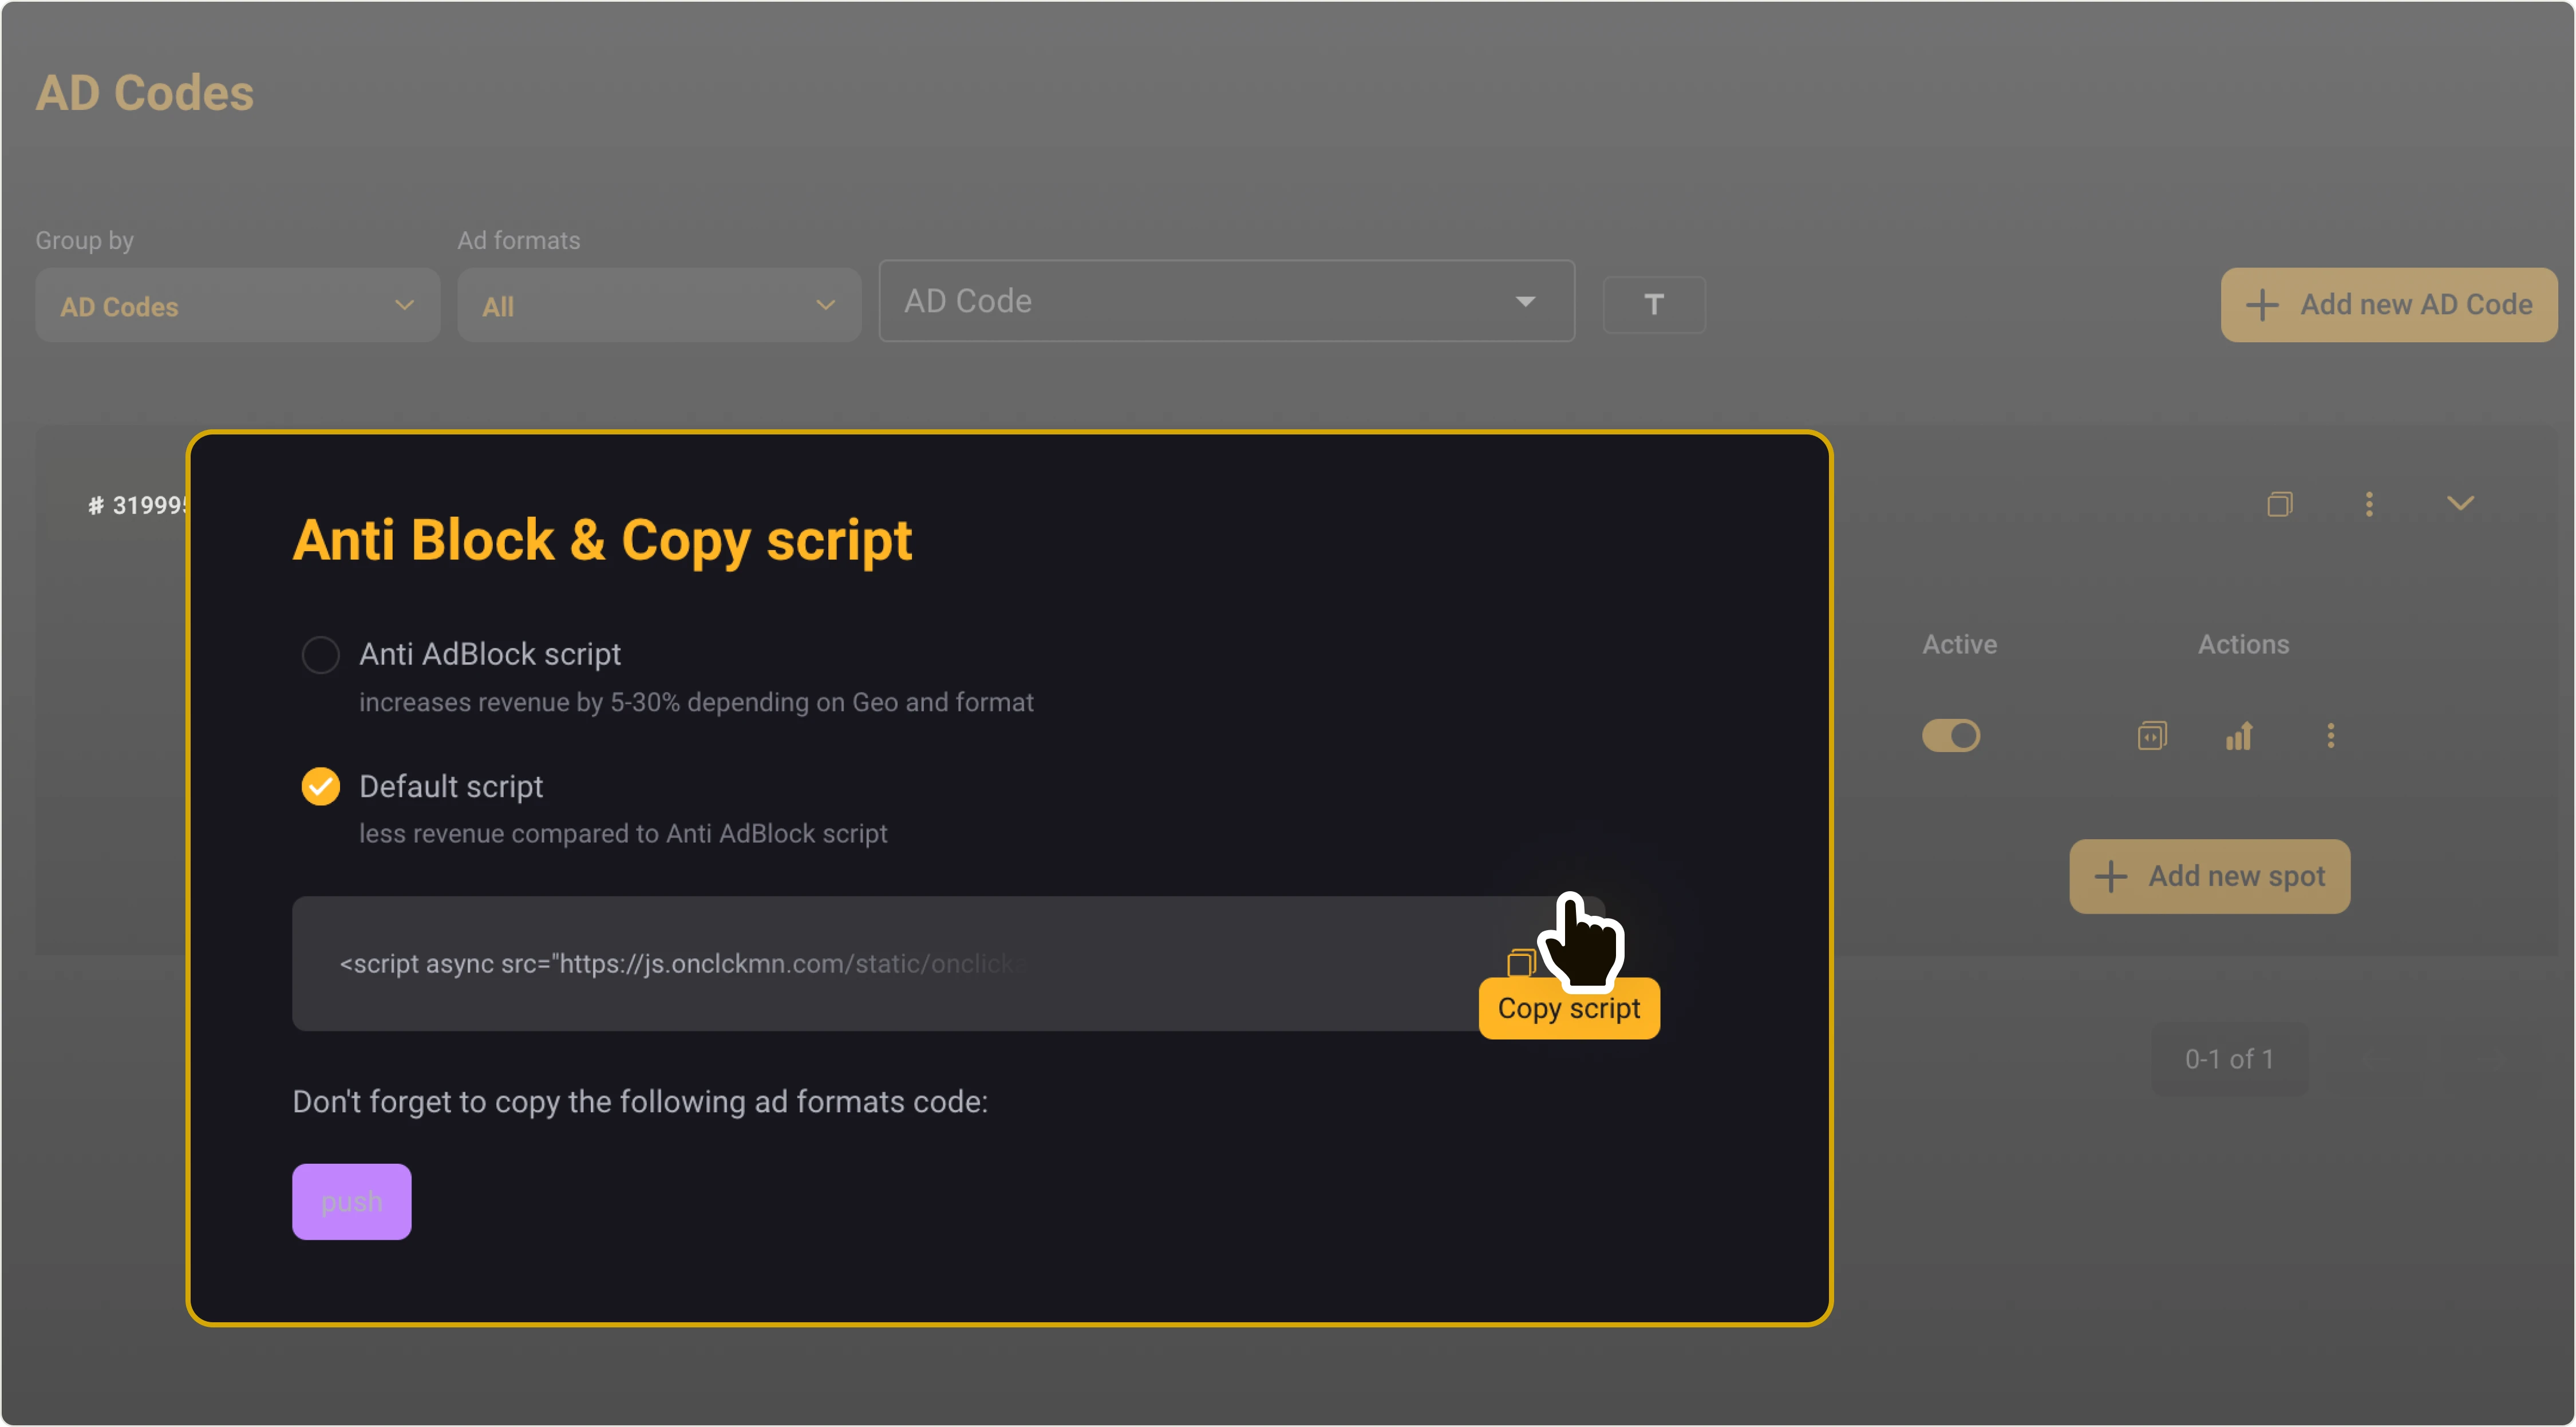
Your script will be copied to clipboard.
Step 5
The script has been copied to the clipboard. This is your AD Code. When working with Web-Push notifications, you also need to download a JavaScript file named *****.js and place it in a designated folder on your website.
Download a file
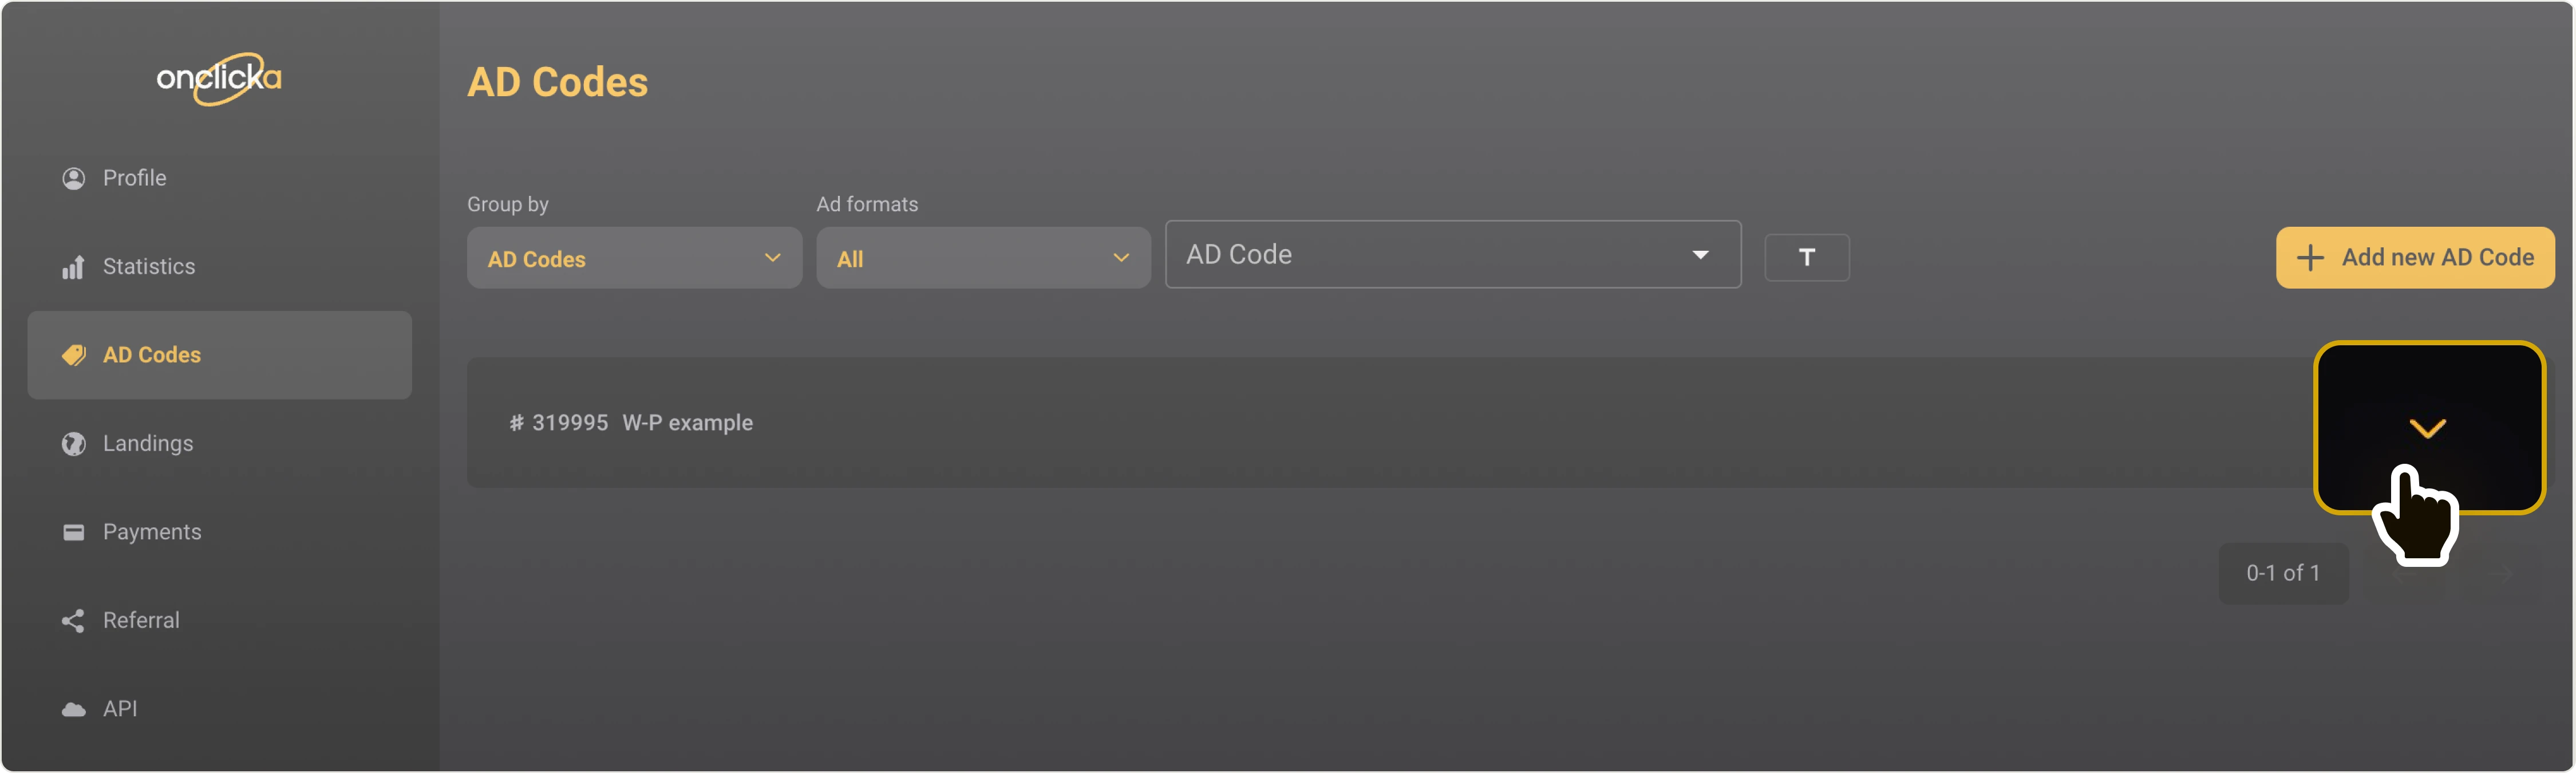
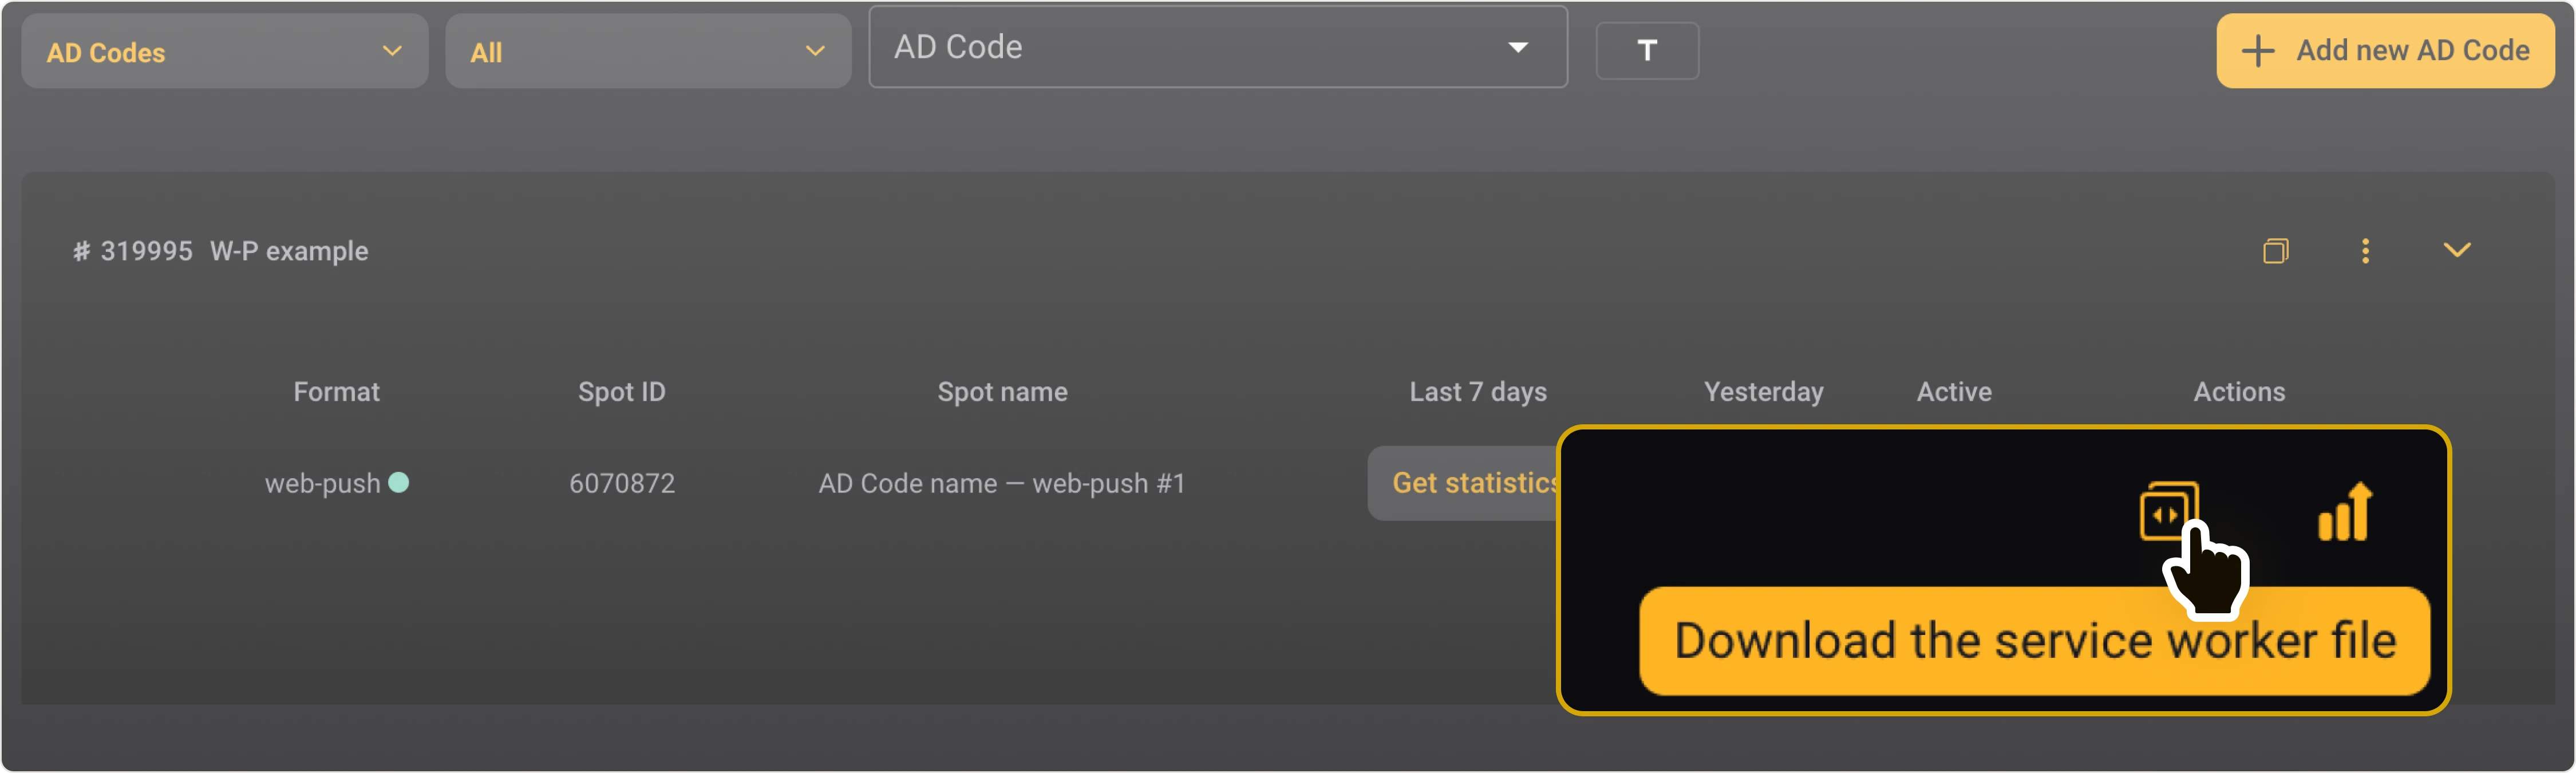
After you your AD Code is created, expand it:
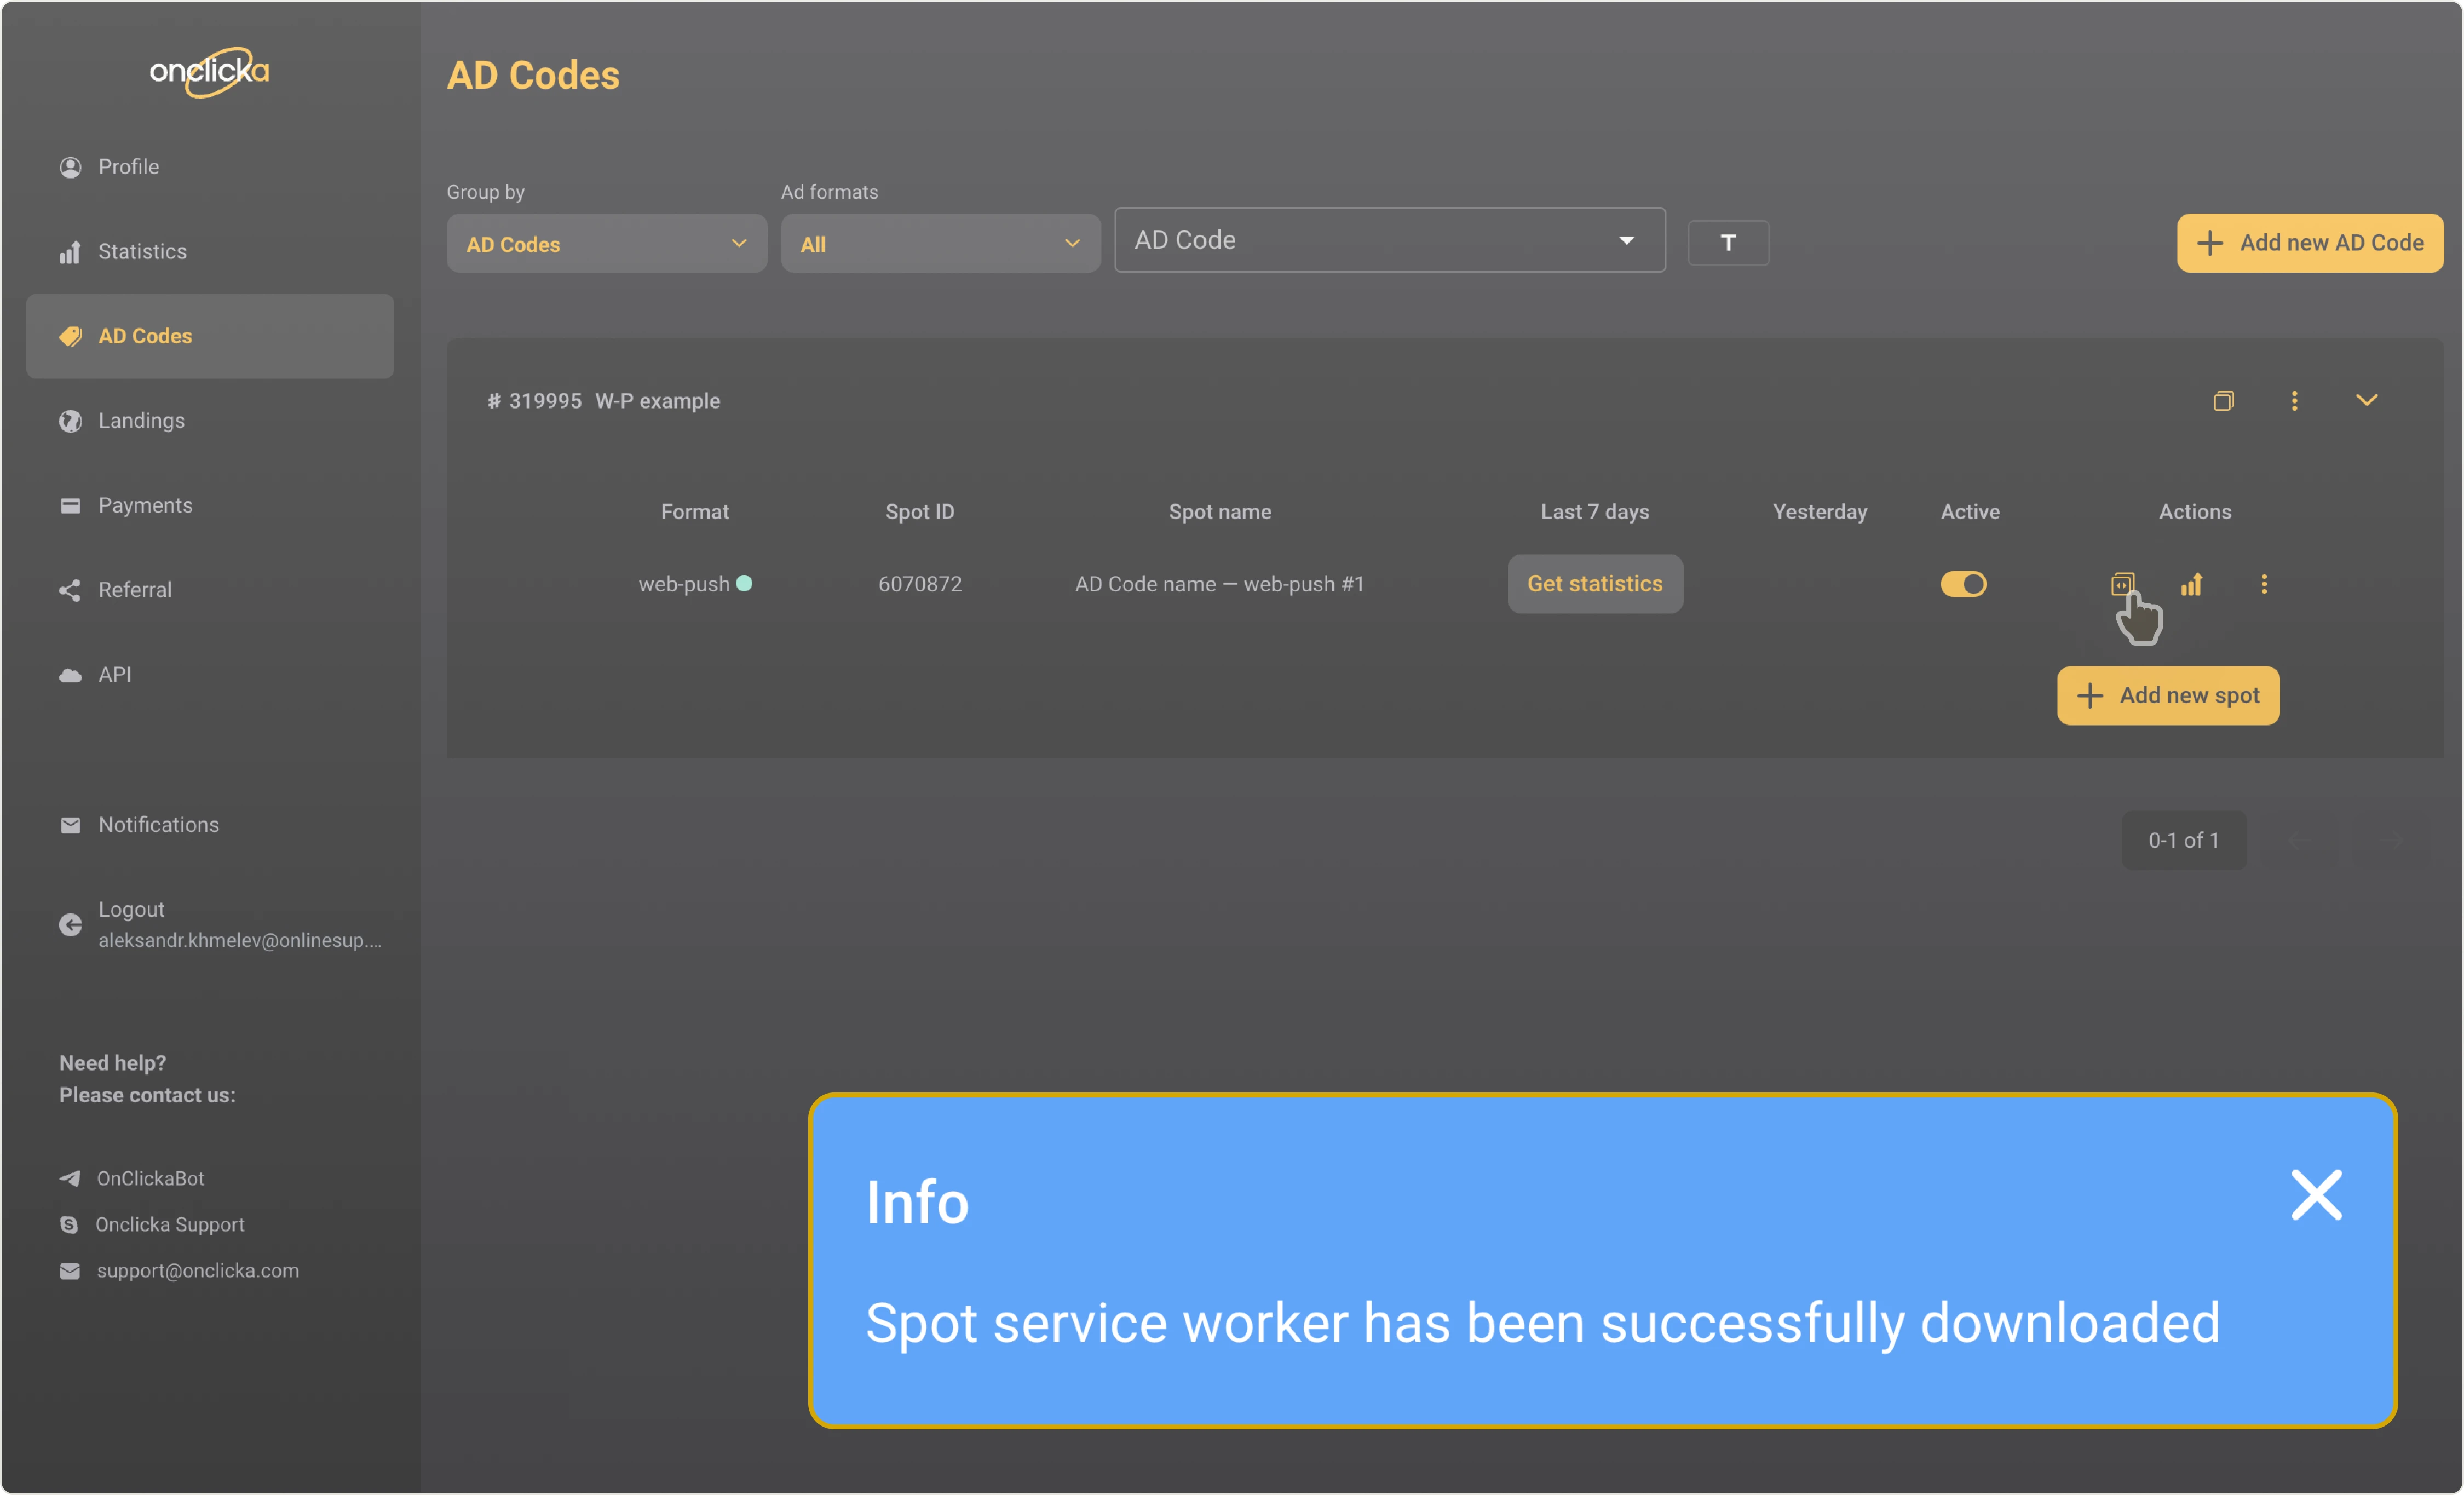
Click on Download the service worker file:
The *****.js file will be downloaded:
Upload the file to the ps folder
Navigate to the root folder of your website and create a new folder named: ps. Please do not rename this folder. Names PS, Ps, pS will not work.

Upload the *****.js file into the ps folder.
Please ensure that you place the *****.js file within the ps folder located at the root of your server.
- do not rename the file and do not change the name of the folder: names PS, Ps, pS, Js, jS, JS will not work
- do not duplicate the ad codes and ad spots
Integrate the AD Code
Integrate the AD Code into the head section:
for <head>
In this instance, the figures within the <div data-nat='6151'></div> represent the AD Spot ID on your website.
